Skip to content
Facebook
X
Instagram
Trending Post
:
Amish Pasta Salad
Home
About
Popular Recipes
Videos
Shop
Southern Sweets Cookbook
Search
Recipes
Expand
Appetizers and Dips
Breads
Breakfast Recipes
Crockpot Meals
Main Dishes
Casseroles and Skillet Meals
Side Dishes
Vegetables
Desserts
Expand
Cakes
Pies
Cookies
Candy
Soups
Salads
Sauces
Beverages
TIPS
Breakfast
Main Dishes
Desserts
Crockpot Recipes
Front Porch Life Magazine
Facebook
X
Instagram
Search
Toggle Menu
Home
Breakfast
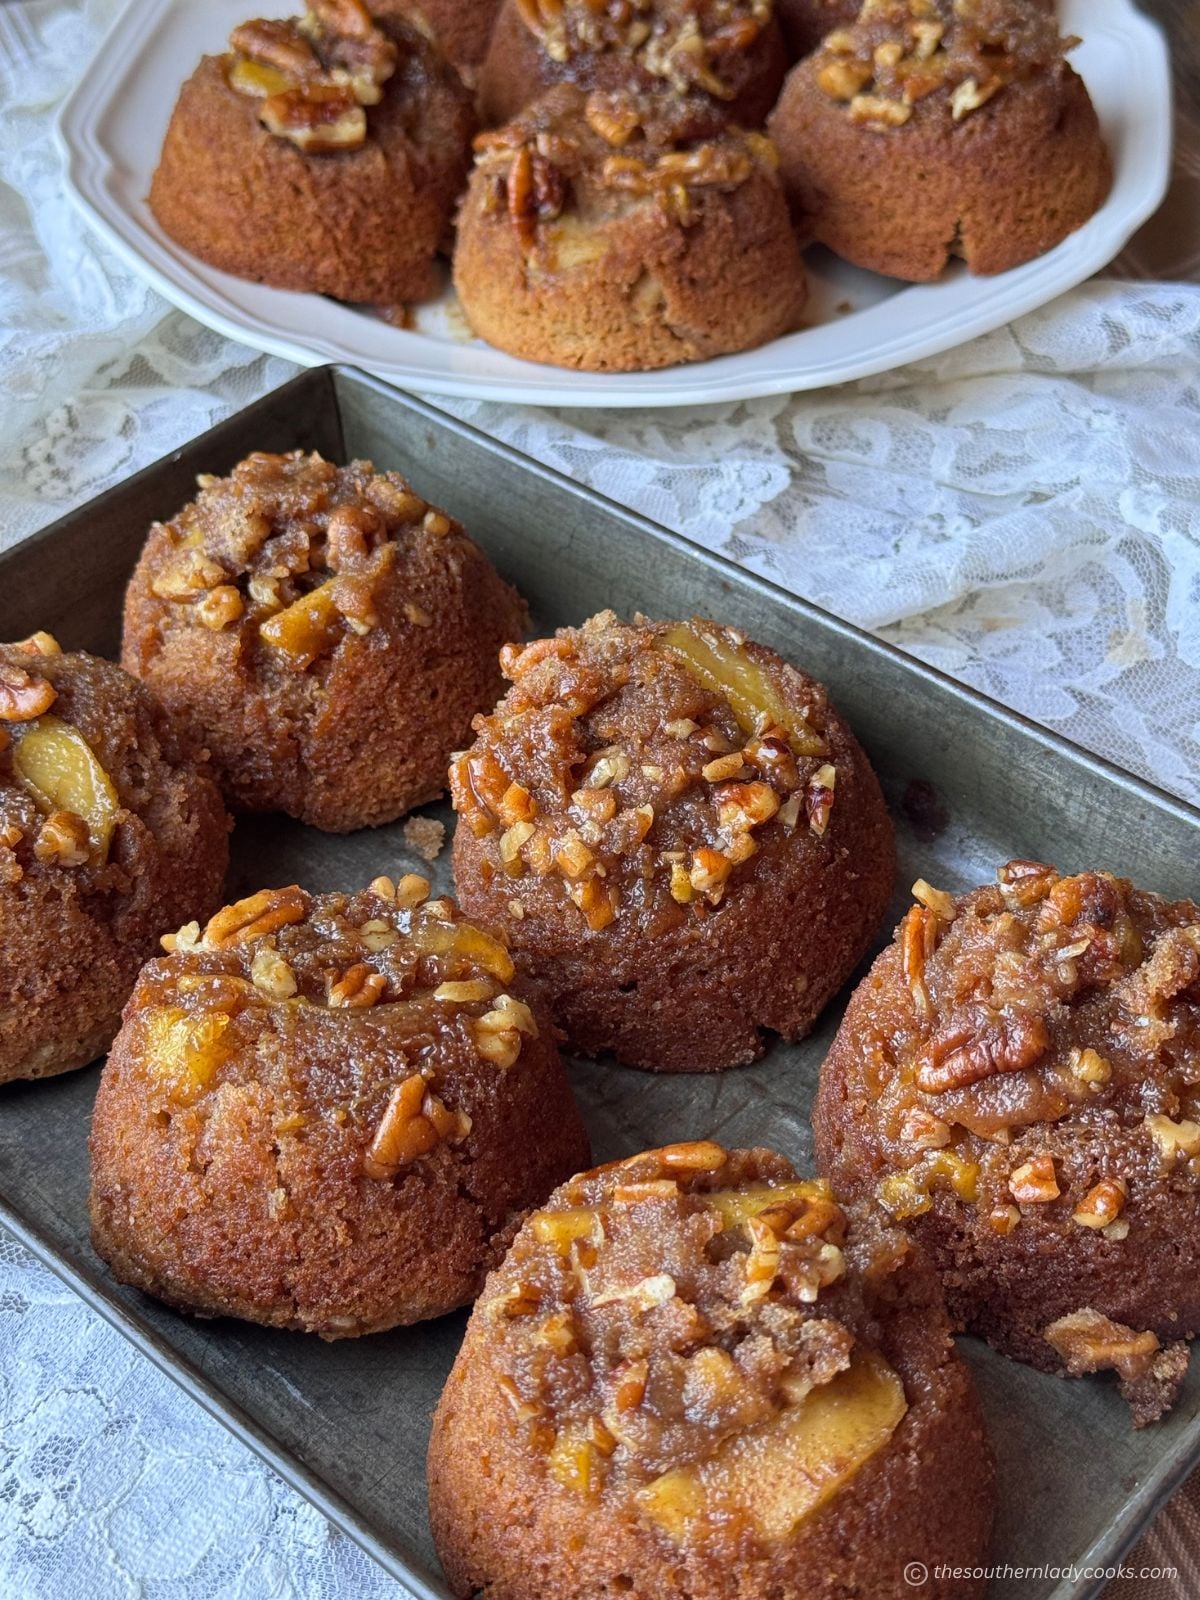
APPLE UPSIDE DOWN CUPCAKES
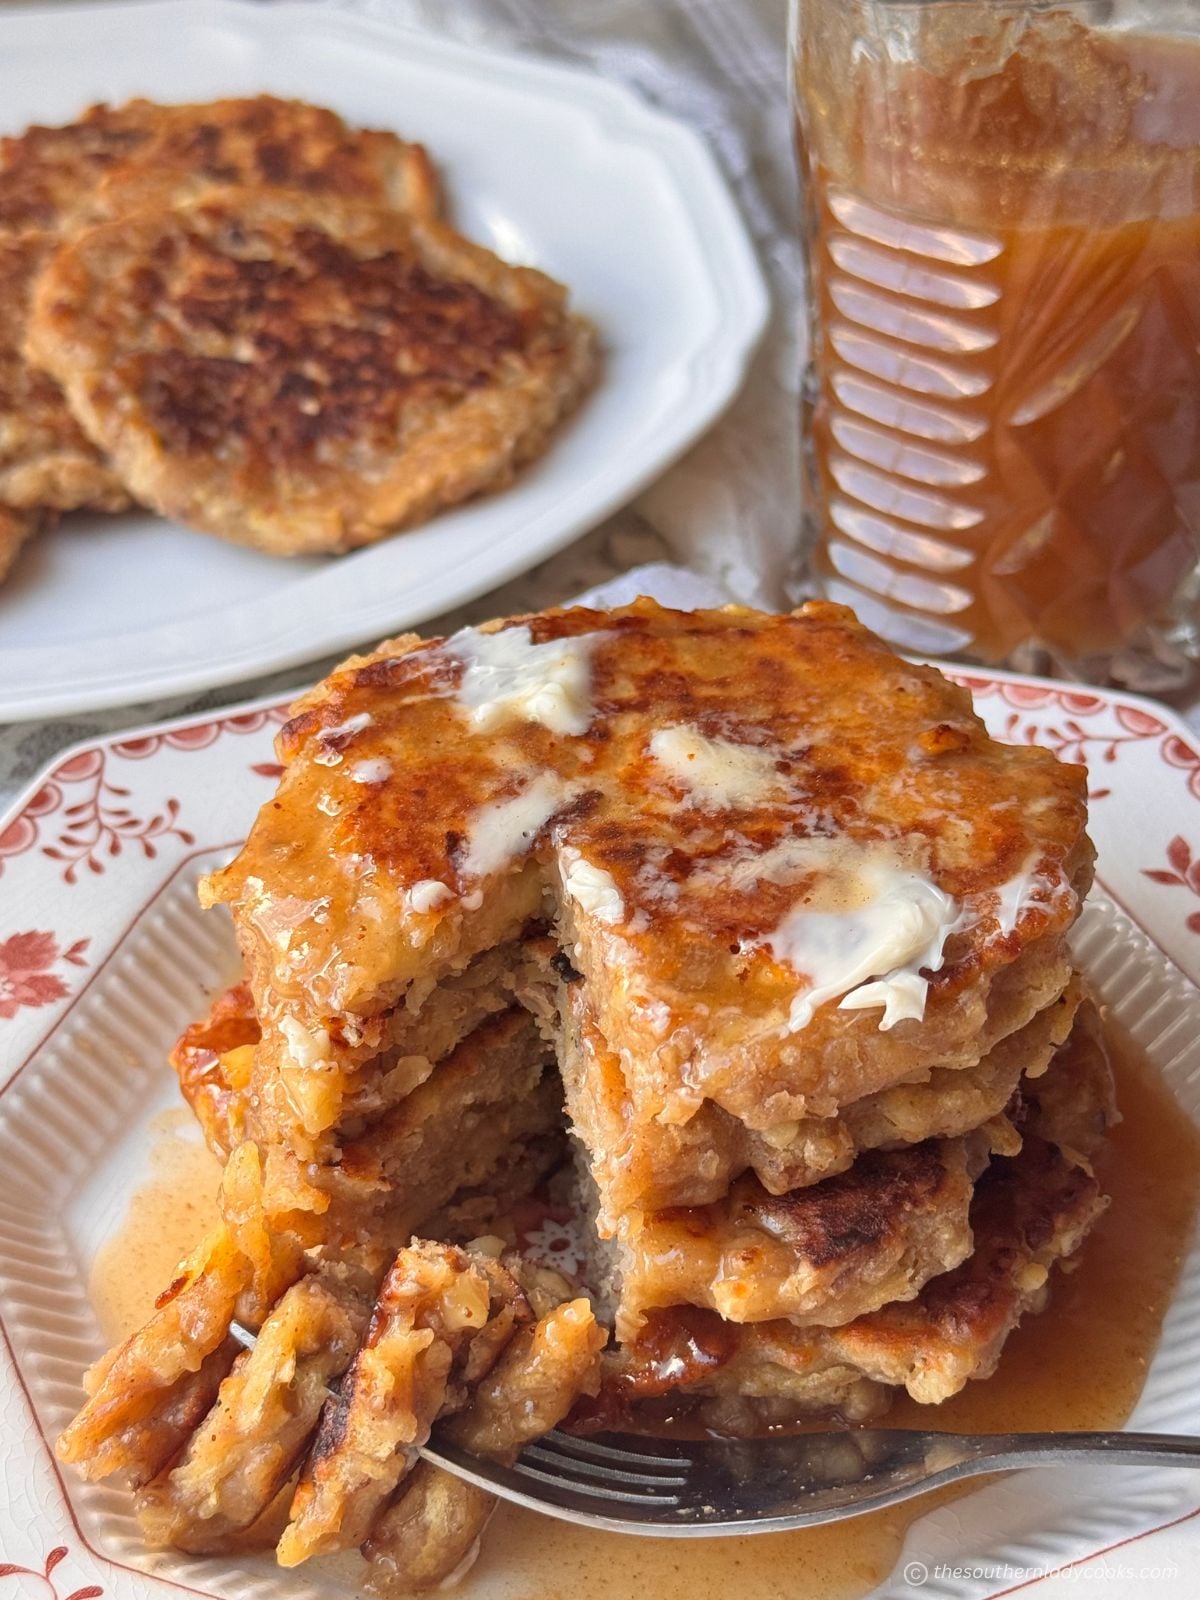
APPLE PANCAKES WITH APPLE SYRUP
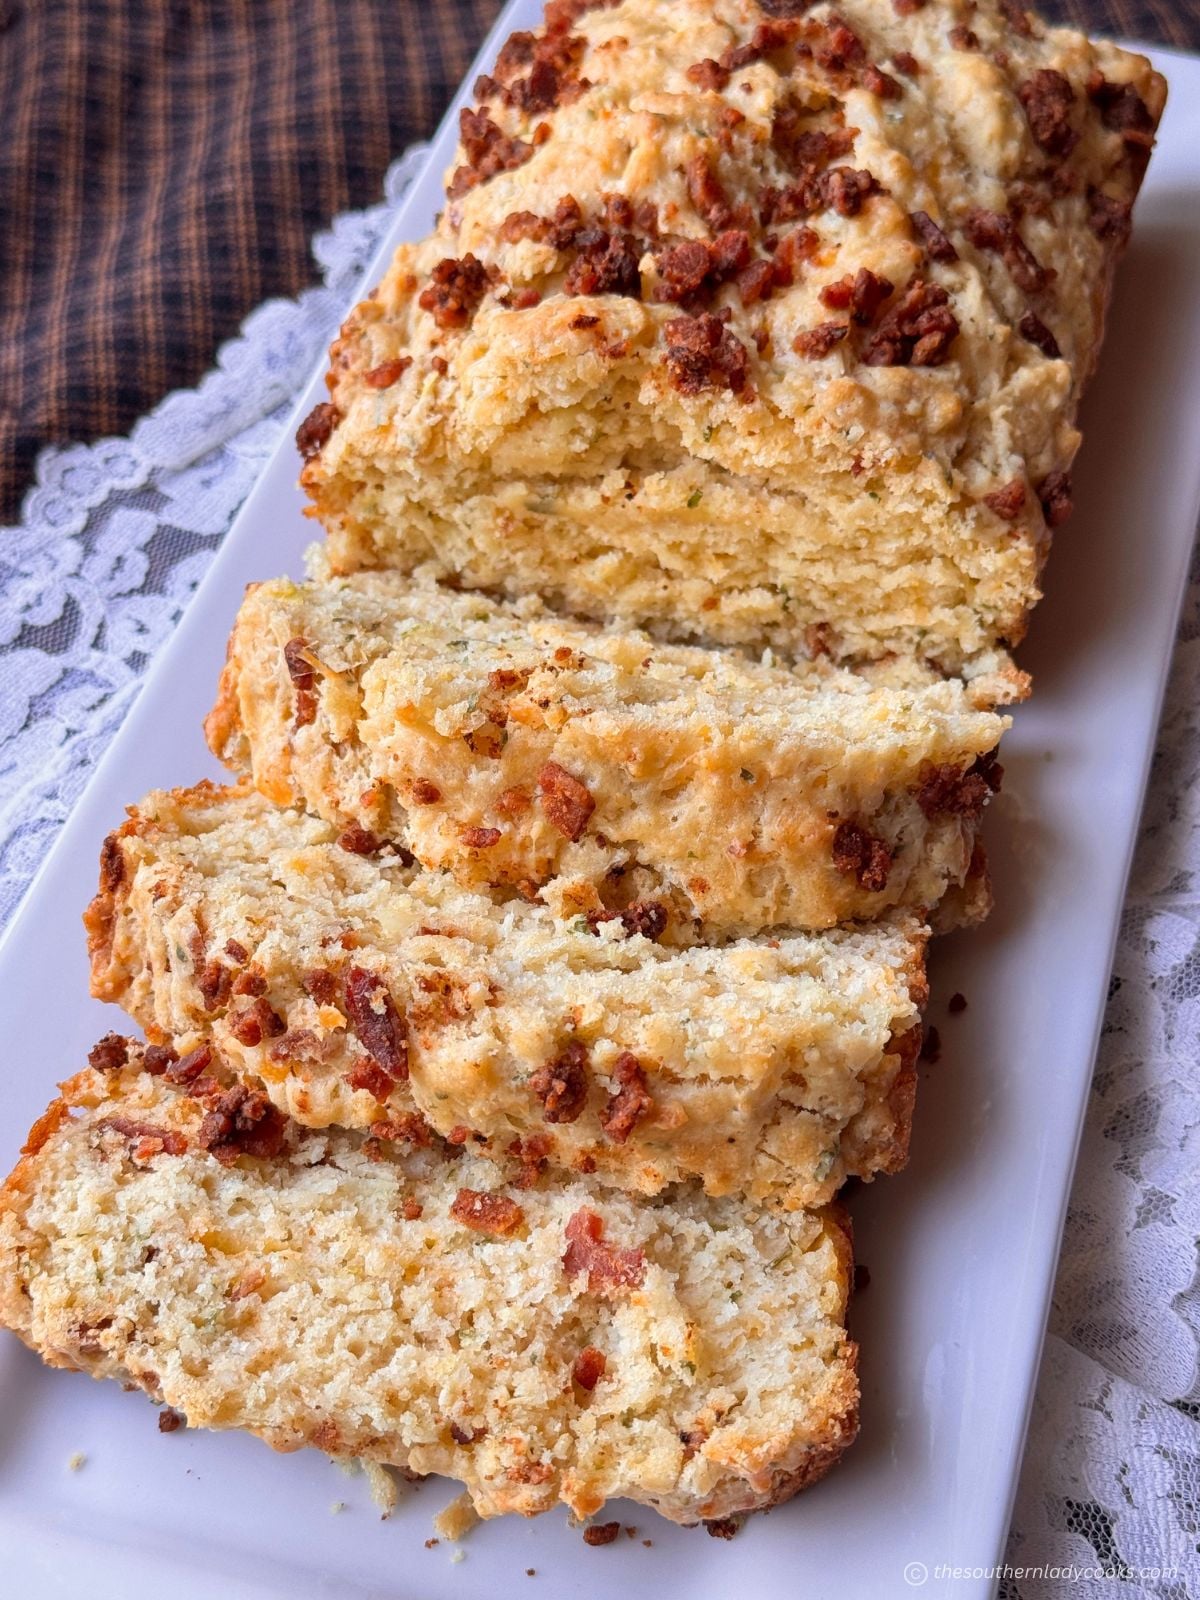
CHEESY ONION BACON BREAD
COUNTRY HAM AND RED EYE GRAVY
APPLE PIE MUFFINS
PUMPKIN SPICE CAKE MIX DONUTS
EASIEST FUDGE EVER
SAUSAGE CHEESE BISCUITS
CRESCENT CHERRY CHEESECAKE BARS
APPLE BUTTER OATMEAL COOKIES
HAM, APPLE AND CHEESE QUICHE
CHOCOLATE CHIP BANANA BREAD
APPLE CINNAMON MONKEY BREAD
STRAWBERRY BREAD
CORNMEAL PANCAKES
PINEAPPLE FRITTERS
CORNED BEEF HASH
FRIED POTATO BREAKFAST BOWL
CRESCENT ROLL BUTTERSCOTCH DANISHES
CANNED BISCUIT CREAM CHEESE DANISHES AND MUFFINS
HONEY BUTTERMILK BISCUITS
OLD FASHIONED HONEY MUFFINS
APPLE PIE BREAD
MORNING GLORY MUFFINS
CINNAMON DONUT MUFFINS
NUTMEG BREAD – OLD FASHIONED RECIPE
CINNAMON BREAD – BEST EVER
HOMEMADE FOOD GIFTS FOR CHRISTMAS
OATMEAL RAISIN SWIRL BREAD
BEST PUMPKIN MUFFINS
CINNAMON SUGAR BUTTER SWIM BISCUITS
PEANUT BUTTER AND BANANA MUFFINS
DELICIOUS APPLE MUFFINS
SAUSAGE GRAVY
QUICK PEPPERY CHEESE BREAD
SOUTHERN TOMATO GRAVY
SAUSAGE SPINACH CRUSTLESS QUICHE
CHEESY SAUSAGE QUICHE
CHOCOLATE GRAVY
CHOCOLATE WAFFLES
SOUTHERN SHRIMP AND GRITS
BEST BRAN MUFFINS
Page navigation
1
2
3
…
8
Next Page
Next
Scroll to top
Scroll to top
Home
About
Shop
Popular Recipes
Videos
Recipes
Toggle child menu
Expand
Appetizers and Dips
Breads
Breakfast Recipes
Crockpot Meals
Main Dishes
Casseroles and Skillet Meals
Side Dishes
Vegetables
Desserts
Toggle child menu
Expand
Cakes
Pies
Cookies
Candy
Soups
Salads
Sauces
Beverages
TIPS
Breakfast
Main Dishes
Desserts
Crockpot Recipes
Front Porch Life Magazine
Toggle Menu Close
Search for:
Search